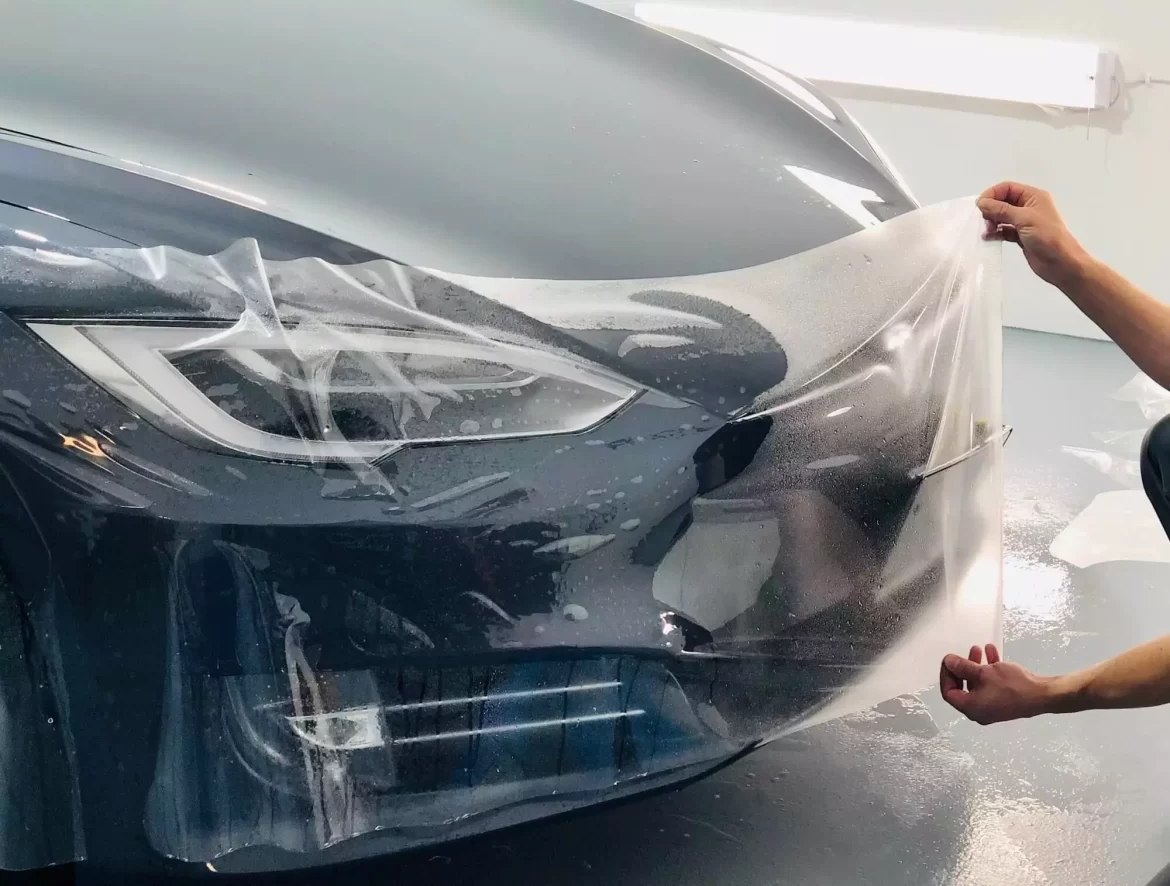
Paint protection films are aimed to preserve the exceptional appearance of your cars. They are capable of repelling debris, rocks, sand, and other impacts that cause incidental chips, scratches, and abrasions all while maintaining the aesthetics of your car.
The quality of stone guard film you use, determines the level of protection your car gets and its durability. Proshield protection pare-pierre offers tailor-made solution packages according to the desired level of protection and are perfectly suited for your needs.
Paint protection films are widely preferred by car owners due to their self-healing properties and mostly due to their invisibility, which ensures your car looks as stunning as it did when bought from the showroom. However, application in the right manner is crucial so that the film looks inseparable and united with the car’s body.
Here we shall talk about the steps involved in applying paint protection film.
Paint protection films can be applied using two methods- Dry and Wet. Here we will talk about the latter.
1] First things first; get rid of contaminants like dust, bugs, tar or oil stains from your car’s exterior, which will eliminate the possibility of unwanted substances getting caught between the film and your car’s surface, thereby impacting the final appearance of your car after application of the film.
2] The application of paint protection film needs to be done swiftly and accurately; which is why the elements needed for the process such as the film, dish washing solution, cloth mitts, auto detailing supplies etc are kept handy. A delay or pause in the process can cause blistering.
3] Post this; the person involved in applying film; dips hand in a solution to prevent the powerful adhesives of the Paint Protection Film (PPF) from sticking to their finger.
4] The sheet is laid down; the liner is removed and solution is applied to the exposed adhesive. The same solution is applied on the surface of car where the film will go.
5] The sheet is carefully applied to the desired area using a sliding motion to prevent air from being trapped between the film and your car’s surface.
6] Using a squeegee, the film is flattened and the remaining air bubbles and solution are removed by overlapping strokes. The squeegee is run along the edges and corners for total adhesion.
Following the procedure; 48 hours are allotted to drying, post which, your car looks ravishing while being well protected!


